
There’s something almost magical about watching rich cream transform into a silky, sweet frozen delight. The first time I made vanilla bean ice cream from scratch, I stood by my churning machine like a child waiting for Christmas morning. That moment when you dip your spoon into freshly churned homemade ice cream, watching the perfect ridge form in its creamy surface, then tasting that pure vanilla flavor punctuated with those tiny, precious black specks – it’s a culinary revelation that makes store-bought versions pale in comparison.
This recipe isn’t just about making ice cream; it’s about creating an experience. The warming aroma of vanilla beans steeping in cream fills your kitchen with promise. The patience required becomes a mindful exercise in anticipation. And that first taste? Pure bliss. Unlike commercial varieties with their stabilizers and artificial enhancers, this homemade vanilla bean ice cream delivers uncompromised flavor with just five simple ingredients. The result is a custard-based ice cream with a texture so luxuriously smooth it melts like velvet against your tongue.
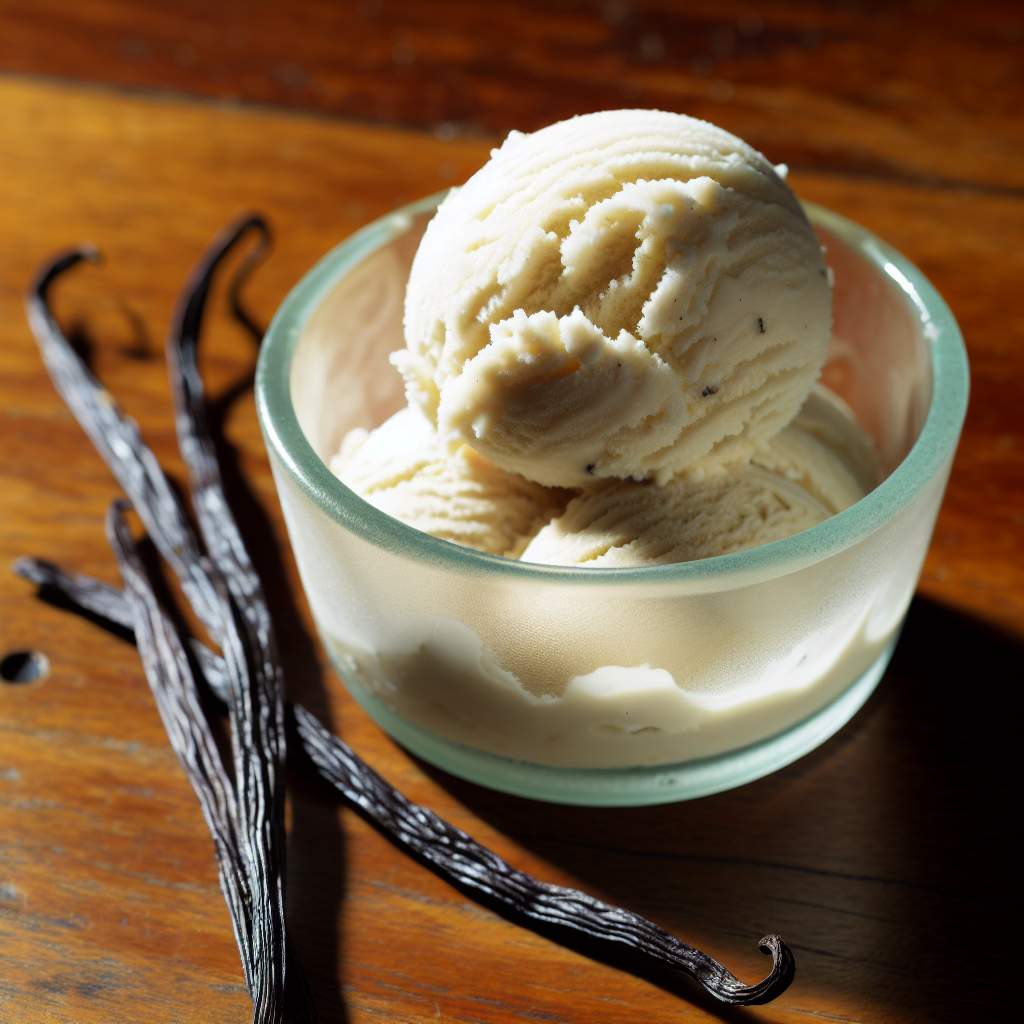
The secret to exceptional vanilla ice cream lies in the beans themselves. Those wrinkled, oily pods may seem expensive, but they’re transformative, infusing the cream with complex flavor notes that vanilla extract alone simply cannot achieve. When you split a vanilla bean and expose those tiny seeds, you’re unlocking countless aromatic compounds – over 250 of them – that create true vanilla’s signature perfume. Look for plump, moist beans that bend rather than snap when gently flexed.
What makes this recipe special is the custard base. By gently cooking egg yolks with the cream, we create a foundation that freezes into something magical – not just frozen cream, but a velvety emulsion with a perfect mouthfeel. The fat in the egg yolks prevents large ice crystals from forming, resulting in that professional-quality smoothness you thought was only possible from specialty ice cream shops.
Ingredients
- 2 cups heavy cream
- 1 cup whole milk
- 3/4 cup granulated sugar
- 5 large egg yolks
- 2 whole vanilla beans
- 1/4 teaspoon salt
- 1 teaspoon pure vanilla extract (optional, for depth)
Equipment
- Ice cream maker
- Medium saucepan
- Heatproof bowl
- Fine-mesh sieve
- Whisk
- Rubber spatula
- Shallow container for freezing
Instructions
Step 1: Prepare the vanilla beans
Using a sharp paring knife, split the vanilla beans lengthwise. Scrape out the seeds with the back of your knife. Don’t discard the pods – they’re packed with flavor too!
Step 2: Infuse the cream mixture
In a medium saucepan, combine the heavy cream, milk, half of the sugar, salt, vanilla seeds, and the scraped pods. Heat over medium-low until small bubbles form around the edges (about 5 minutes) – don’t let it boil. Remove from heat, cover, and let steep for 30 minutes to extract maximum vanilla flavor.
Step 3: Prepare the egg yolks
In a heatproof bowl, whisk the egg yolks with the remaining sugar until the mixture becomes pale yellow and slightly thickened (about 2 minutes of vigorous whisking).
Step 4: Create the custard base
Remove the vanilla pods from the cream mixture. Slowly pour about 1 cup of the warm cream mixture into the egg yolks, whisking constantly to prevent scrambling the eggs. This is called tempering. Then pour the tempered egg mixture back into the saucepan with the remaining cream.
Step 5: Cook the custard
Cook over medium-low heat, stirring constantly with a wooden spoon or heatproof spatula, until the mixture thickens enough to coat the back of the spoon (about 5-7 minutes). When you run your finger across the coated spoon, it should leave a clear path that doesn’t immediately fill in. The temperature should reach 170-175°F (77-79°C) but not exceed 180°F (82°C), which would curdle the eggs.
Step 6: Strain and cool
Immediately strain the mixture through a fine-mesh sieve into a clean bowl to remove any potential egg lumps and the vanilla pods. Stir in the vanilla extract if using. Cover with plastic wrap, pressing it directly onto the surface of the custard to prevent a skin from forming. Refrigerate until completely chilled, at least 4 hours or overnight.
Step 7: Churn
Pour the chilled custard into your ice cream maker and churn according to the manufacturer’s instructions, usually 20-25 minutes. The ice cream is ready when it reaches the consistency of soft-serve.
Step 8: Freeze
Transfer to a shallow, freezer-safe container. Press a piece of parchment paper directly on the surface of the ice cream to prevent ice crystals from forming. Cover with a lid and freeze until firm, at least 4 hours.
Step 9: Serve
For the best texture and flavor, let the ice cream sit at room temperature for 5-10 minutes before serving.
Chef’s Tips for Perfect Vanilla Bean Ice Cream
The quality of your ingredients matters tremendously in a recipe this simple. Use the freshest eggs you can find, preferably organic. For the dairy, look for cream and milk that’s not ultra-pasteurized – the gentler the processing, the better the flavor. And while it might be tempting to reduce the fat content with half-and-half or low-fat milk, resist the urge. The fat is crucial for that luxurious mouthfeel and prevents iciness.
If you’re looking to elevate this classic even further, consider adding a tablespoon of bourbon or rum to the finished custard before churning. The alcohol not only adds complexity but also improves scoopability by slightly lowering the freezing point. A teaspoon of espresso powder is another secret weapon – it won’t make your ice cream taste like coffee, but it will enhance the vanilla flavor in surprising ways.
Don’t rush the chilling process. A thoroughly chilled custard churns faster and produces smaller ice crystals, resulting in smoother ice cream. If you’re in a hurry, place the custard bowl in an ice bath and stir occasionally until cold. And if you want to take sustainability to heart, rinse those precious vanilla pods after use, dry them completely, and bury them in a jar of sugar to create vanilla sugar for your next baking project.
Serving Ideas
This vanilla bean ice cream is magnificent on its own, but it also serves as the perfect canvas for toppings and accompaniments. Try it with warm fruit compotes – the contrast of temperatures creates a sensory delight. Drizzle with homemade caramel or chocolate sauce for classic sundae perfection. For unexpected sophistication, serve with a sprinkle of flaky sea salt and a drizzle of good olive oil – an Italian technique that highlights vanilla’s complexity.
The beauty of mastering this vanilla bean base is that it opens doors to endless variations. Fold in crushed cookies or brownies during the last minute of churning. Swirl in fruit preserves or caramel sauce as you transfer to the freezing container. Or simply keep it pure, appreciating vanilla not as the “plain” flavor, but as the complex, nuanced ingredient it truly is – one that deserves to be showcased rather than overshadowed.
Once you’ve tasted the incomparable richness of homemade vanilla bean ice cream, with its symphony of fragrant vanilla notes and silky texture, the store-bought version will forever seem like a pale imitation. This isn’t just dessert – it’s a revelation in a bowl, waiting for you to discover it. So gather your ingredients, embrace the process, and prepare to experience vanilla in its most glorious form.