


Have you ever spread store-bought butter on warm toast and thought, “this is fine, but something’s missing”? That something is the incomparable flavor of homemade cultured butter. Unlike regular butter, cultured butter undergoes fermentation that develops complex, tangy notes reminiscent of fine cheese. It’s the secret ingredient European bakers have treasured for generations, and today I’m sharing how to create this liquid gold in your own kitchen. The process may sound intimidating, but I promise it’s surprisingly simple—and the results will forever change how you think about butter.
Making cultured butter at home connects us to ancient food traditions while delivering a product far superior to anything you’ll find in plastic tubs. The magic happens when beneficial bacteria transform cream into something transcendent—slightly tangy, incredibly rich, with a melt-in-your-mouth texture that makes everything from morning toast to mashed potatoes taste luxurious. Plus, you’ll get the bonus of real buttermilk as a byproduct—not the commercial stuff, but the genuine article that makes pancakes rise to cloud-like perfection. Ready to revolutionize your kitchen staples? Let’s make some butter.
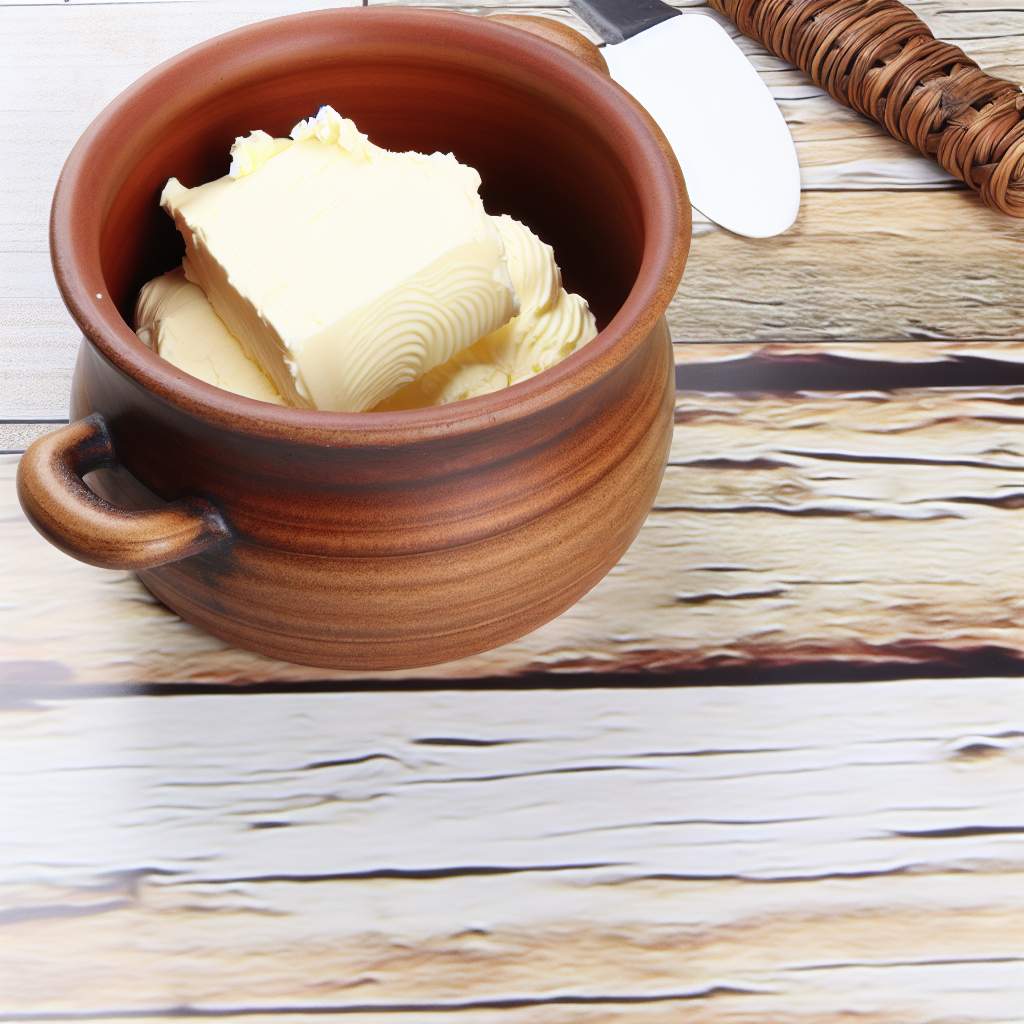
Homemade Cultured Butter
A rich, tangy European-style cultured butter that will elevate everything from morning toast to gourmet recipes.
Prep Time: 30 minutes (active)
Culturing Time: 12-24 hours
Total Time: 13-25 hours
Yield: Approximately 12 oz (340g) butter plus 1 cup buttermilk
Ingredients
- 4 cups (1 quart/950ml) heavy cream, not ultra-pasteurized (organic preferred)
- ¼ cup cultured buttermilk with live active cultures OR 1 packet mesophilic culture
- Ice water for washing
- Sea salt to taste (optional, approximately ¼ teaspoon)
Equipment
- Large glass or ceramic bowl
- Stand mixer with whisk attachment (or hand mixer/food processor)
- Fine-mesh sieve or cheesecloth
- Wooden spoon
- Clean muslin cloth or butter muslin
- Parchment paper for storage
Instructions
- Pour the heavy cream into a clean glass or ceramic bowl. Add the buttermilk or culture and stir gently to combine.
- Cover loosely with a clean kitchen towel and let sit at room temperature (around 70-75°F/21-24°C) for 12-24 hours. The longer it cultures, the tangier your butter will be.
- The cream is properly cultured when it has thickened, looks slightly curdled, and has a pleasant, tangy aroma (similar to yogurt).
- Chill the cultured cream in the refrigerator for 1-2 hours. Cold cream churns more efficiently.
- Pour the cold cultured cream into the bowl of your stand mixer fitted with the whisk attachment. Cover the mixer with a kitchen towel to prevent splashing.
- Start mixing on low speed, then gradually increase to medium-high. The cream will go through several stages: whipped cream, stiff peaks, then suddenly it will break and separate into butter solids and buttermilk.
- Once the butter has separated (usually after 5-10 minutes of churning), turn off the mixer. The buttermilk should be thin and the butter granules yellow and distinct.
- Pour the contents through a fine-mesh sieve or cheesecloth-lined colander, capturing the buttermilk in a bowl beneath (save this real buttermilk for baking!).
- Transfer the butter to a clean bowl and pour ice-cold water over it. Using a wooden spoon or clean hands, press and fold the butter to release remaining buttermilk. Pour off the cloudy water and repeat this washing process 4-5 times until the water runs clear.
- If adding salt, sprinkle it over the butter and work it in thoroughly.
- Use your hands or the wooden spoon to press out any remaining water, then shape the butter as desired.
- Wrap tightly in parchment paper or place in a butter crock for storage.
Storage
Store your cultured butter in the refrigerator for up to 2 weeks, or freeze for up to 6 months. For the best flavor, bring to room temperature before serving.
The transformation that happens during the culturing process is nothing short of magical. As beneficial bacteria feast on the lactose in cream, they produce lactic acid, creating that distinctive tangy flavor that makes cultured butter so special. This process mimics how butter was traditionally made before refrigeration, when cream would naturally ferment as it sat. The result isn’t just delicious—it’s also potentially easier to digest for some people, as the bacterial cultures break down some of the milk proteins and sugars.
While the process requires patience, the actual hands-on time is minimal. Most of the magic happens while you sleep or go about your day. The key is starting with the right cream—look for cream that’s pasteurized but not ultra-pasteurized, as the latter has been heated to temperatures that kill off too many of the beneficial bacteria that help develop flavor. Organic cream often yields better results as it tends to have higher fat content and fewer additives. Some specialty stores even carry cream specifically labeled for making butter.
The washing step might seem tedious, but it’s crucial for extending your butter’s shelf life. Any buttermilk left in the butter will cause it to spoil more quickly. Think of washing as rinsing away perishability while preserving flavor. The ice-cold water also helps firm up the butter, making it easier to work with. If you’re feeling adventurous, this is where you could incorporate add-ins like herbs, honey, or roasted garlic—though I recommend trying the classic version first to appreciate its pure flavor.
One of the joys of making cultured butter is the buttermilk byproduct—liquid gold in its own right. This isn’t the thick, commercial buttermilk you buy at stores (which is typically milk with cultures added). True buttermilk is thinner but packed with flavor. Reserve it for spectacular pancakes, biscuits, or marinades for chicken. The acidity tenderizes proteins and adds complexity to baked goods that’s impossible to replicate with store-bought versions.
Temperature plays a crucial role in successful butter-making. During culturing, aim for around 70-75°F (21-24°C)—warm enough for bacteria to thrive but not so warm that the cream spoils. If your kitchen runs cool, place the covered bowl in a turned-off oven with just the light on. Conversely, if your home is very warm, you may need to culture for a shorter time. Trust your senses—properly cultured cream should smell pleasantly tangy, like yogurt, never off or unpleasant.
The moment when cream “breaks” into butter is culinary alchemy at its finest. One minute you’re looking at whipped cream, and suddenly—almost violently—it transforms into yellow butter grains swimming in buttermilk. This dramatic shift happens when the fat globules in the cream have been agitated enough to clump together, forcing out the liquid. It’s science, but it feels like magic, especially the first time you witness it.
Beyond toast and baking, cultured butter elevates everything it touches. Try it melted over steamed vegetables, stirred into risotto at the last minute, or as the foundation for a compound butter. For special occasions, shape your butter into elegant rounds or press it into decorative molds. For a stunning presentation, serve freshly made butter with flaky sea salt on the side, allowing guests to customize each bite. The flavor continues to develop over the first few days, reaching its peak around day three—if it lasts that long!
Making cultured butter connects us to food traditions practiced for centuries across continents. Before industrialization simplified our food system, this was how families preserved the summer bounty of milk. The process required no electricity, no special equipment—just patience and understanding of natural fermentation. By making butter at home, you’re not just creating something delicious; you’re participating in a timeless culinary tradition that spans generations and cultures. And once you’ve tasted the rich, complex flavor of homemade cultured butter, I promise there’s no going back to the store-bought variety.